

A Championship Winning Score (2)
NEX-6, 55mm-210mm E-Mount Lens @ 159mm, Aperture Priority Mode, 1/500 secs, ISO 100, f/8 Zoom Blur effect added in Photoshop Elements 10.
During my 3 month absence from posting to this blog, I attended the Le Mans 24 Hour Race in France with 5 friends, but I have held off from posting the photos purely because I took others that I was more excited about in the meantime! You might be forgiven for thinking that this post will be all about fast cars and ridiculous engines, but I’d rather take you through the Le Mans experience in more detail than that! As there are quite a few photos to share, in order to provide you with as much information as possible, I have decided to do so through the medium of a list of Do’s and Don’ts, so here goes…
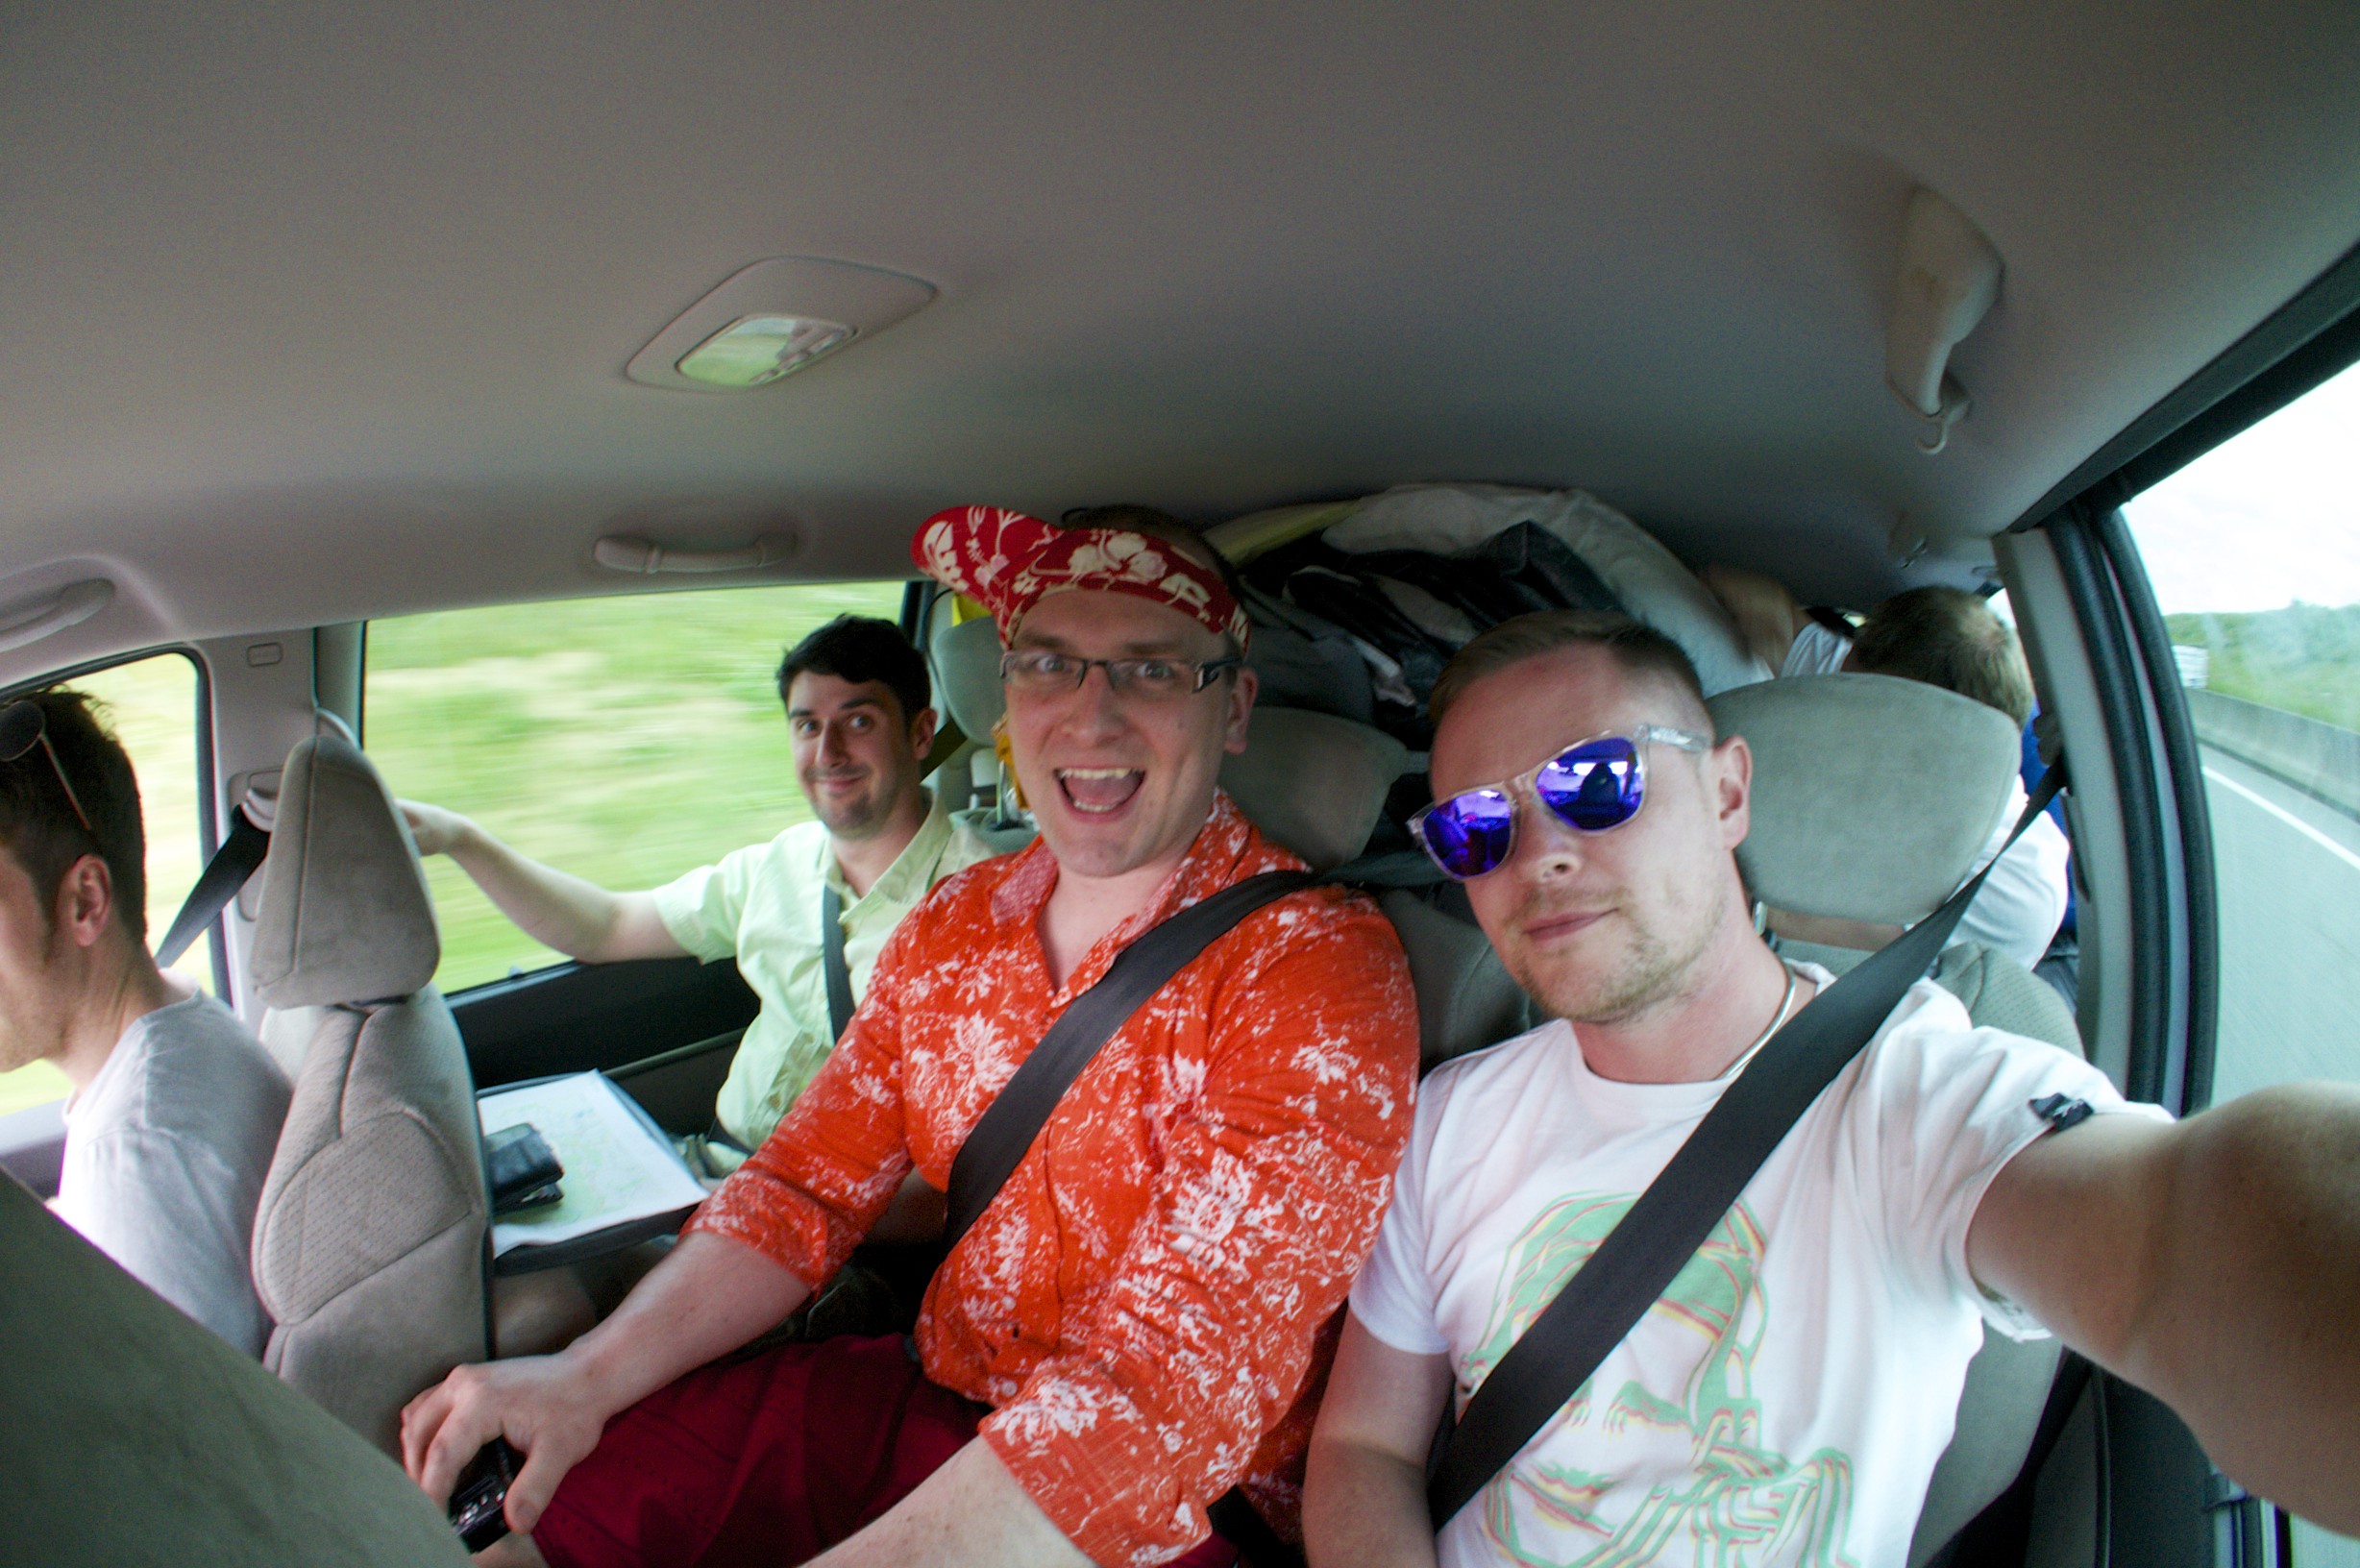
DO borrow a 7 seat people carrier – make sure the 5 in the front bays have limited but adequate room, whilst the poor bugger in the back is cocooned by all of the luggage.

DO get to the camp site early, to make the most of the health and safety-lacking communal power supplies! Gaffer tape is useful at this point; and at all other points over your 4 day camping experience.

DO make sure to take a 6 man tent, dining table, chairs, fridge, stereo, plastic cups and plates, and a BBQ. Beer, Merlot and meat can all be purchased at a local supermarket in Le Mans, ensuring that you only lose all feeling in your legs for the last hour of queuing to get in to the campsite. All of this MUST fit in the people carrier with yourselves, your rucksacks, sleeping bags and pillows.

DO make sure that your vehicle is decorated accordingly.

DON’T run out of time to order the vinyls for your car, and then end up having to make your own (tasteful) versions. Electrical tape is also useful over the course of the holiday.
Those are a few things that you will want to consider whilst planning your trip, as is making sure that you arrive on the Thursday – giving you time to set up camp and give yourself a hangover for Mad Friday! This is when the real fun begins, and has become a long-standing tradition over the years, whereby people in cars perform burnouts on the access roads to the campsites (all around the town and track areas), egged on by people in fancy dress with beer and water pistols. Here are some more tips, this time to help you survive Mad Friday…

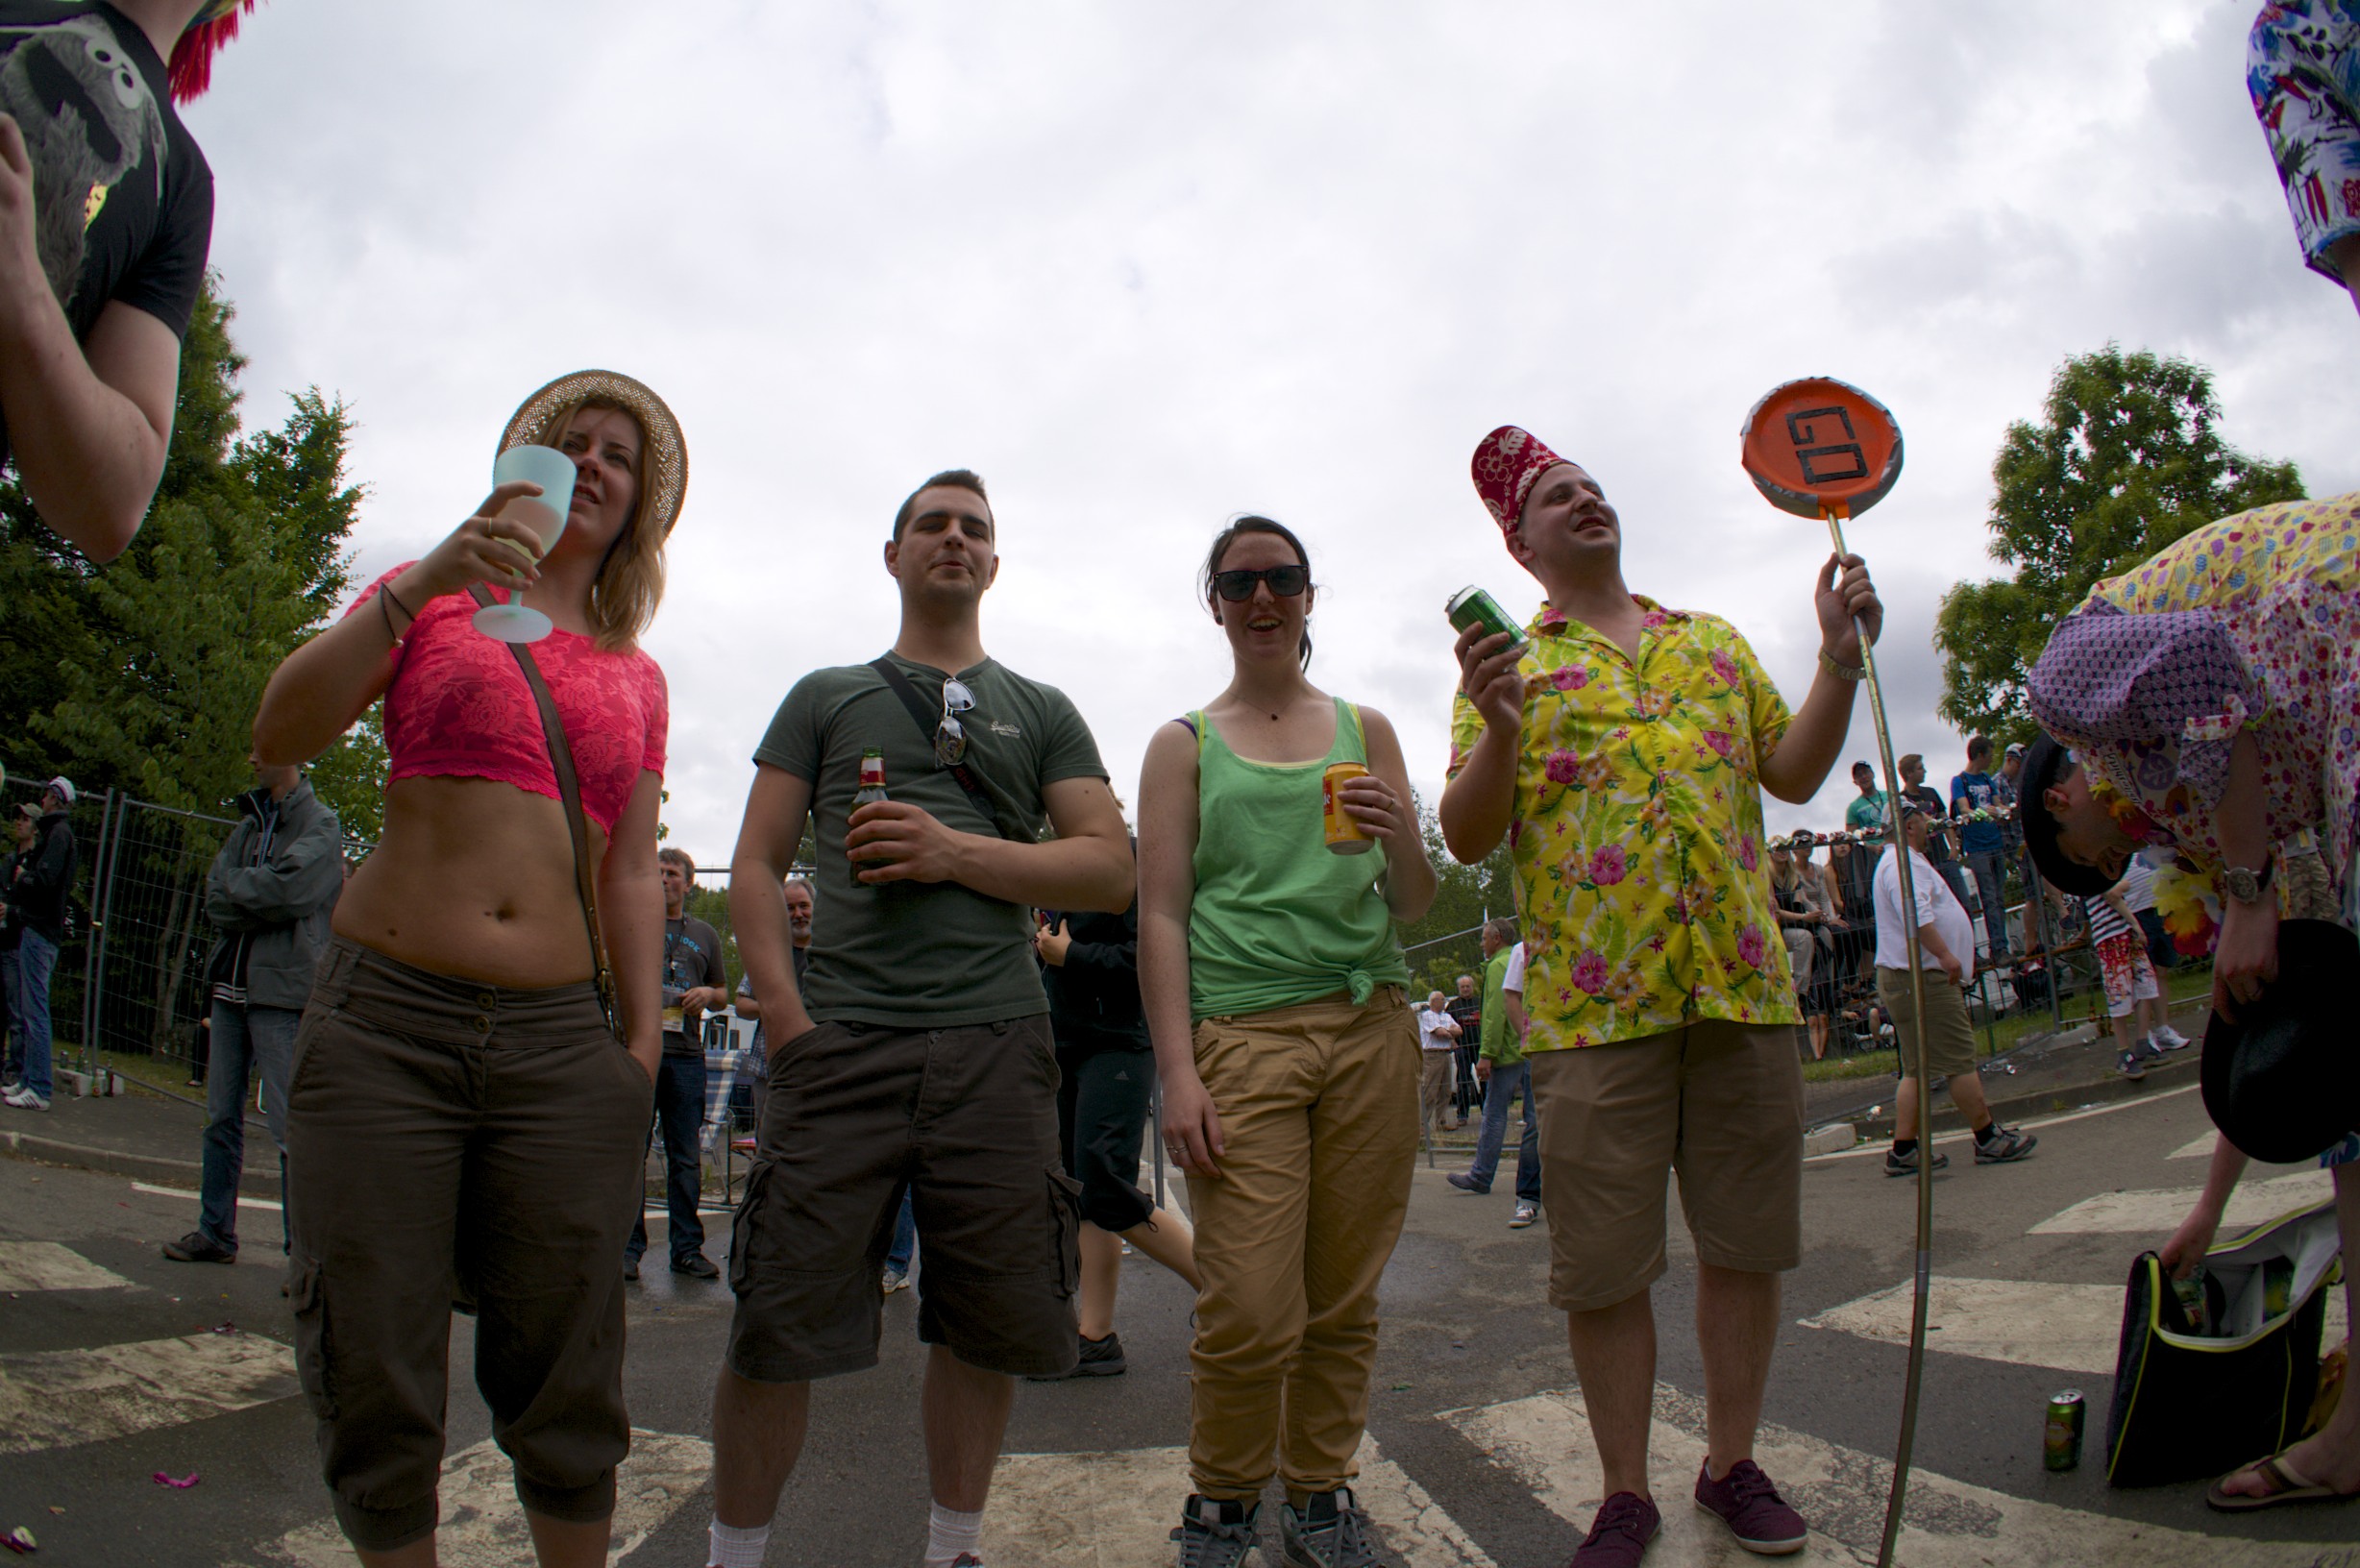
DO dress like a bunch of ****s. This provides you with an excuse to drink cheap French beer and get very (too) involved with the festivities.
DON’T ride through the crowd in any sort of open chariot.

I said DON’T ride through the crowd in an open chariot!

DON’T be a policeman! Especially in an open chariot!

DO drive through in a car, but keep your windows up, and your doors locked!!!

DO take a vuvuzela. This makes a lot of unpleasant noise and can also double up as a drinking funnel – beer or merlot. Another reason gaffer tape is useful, too.

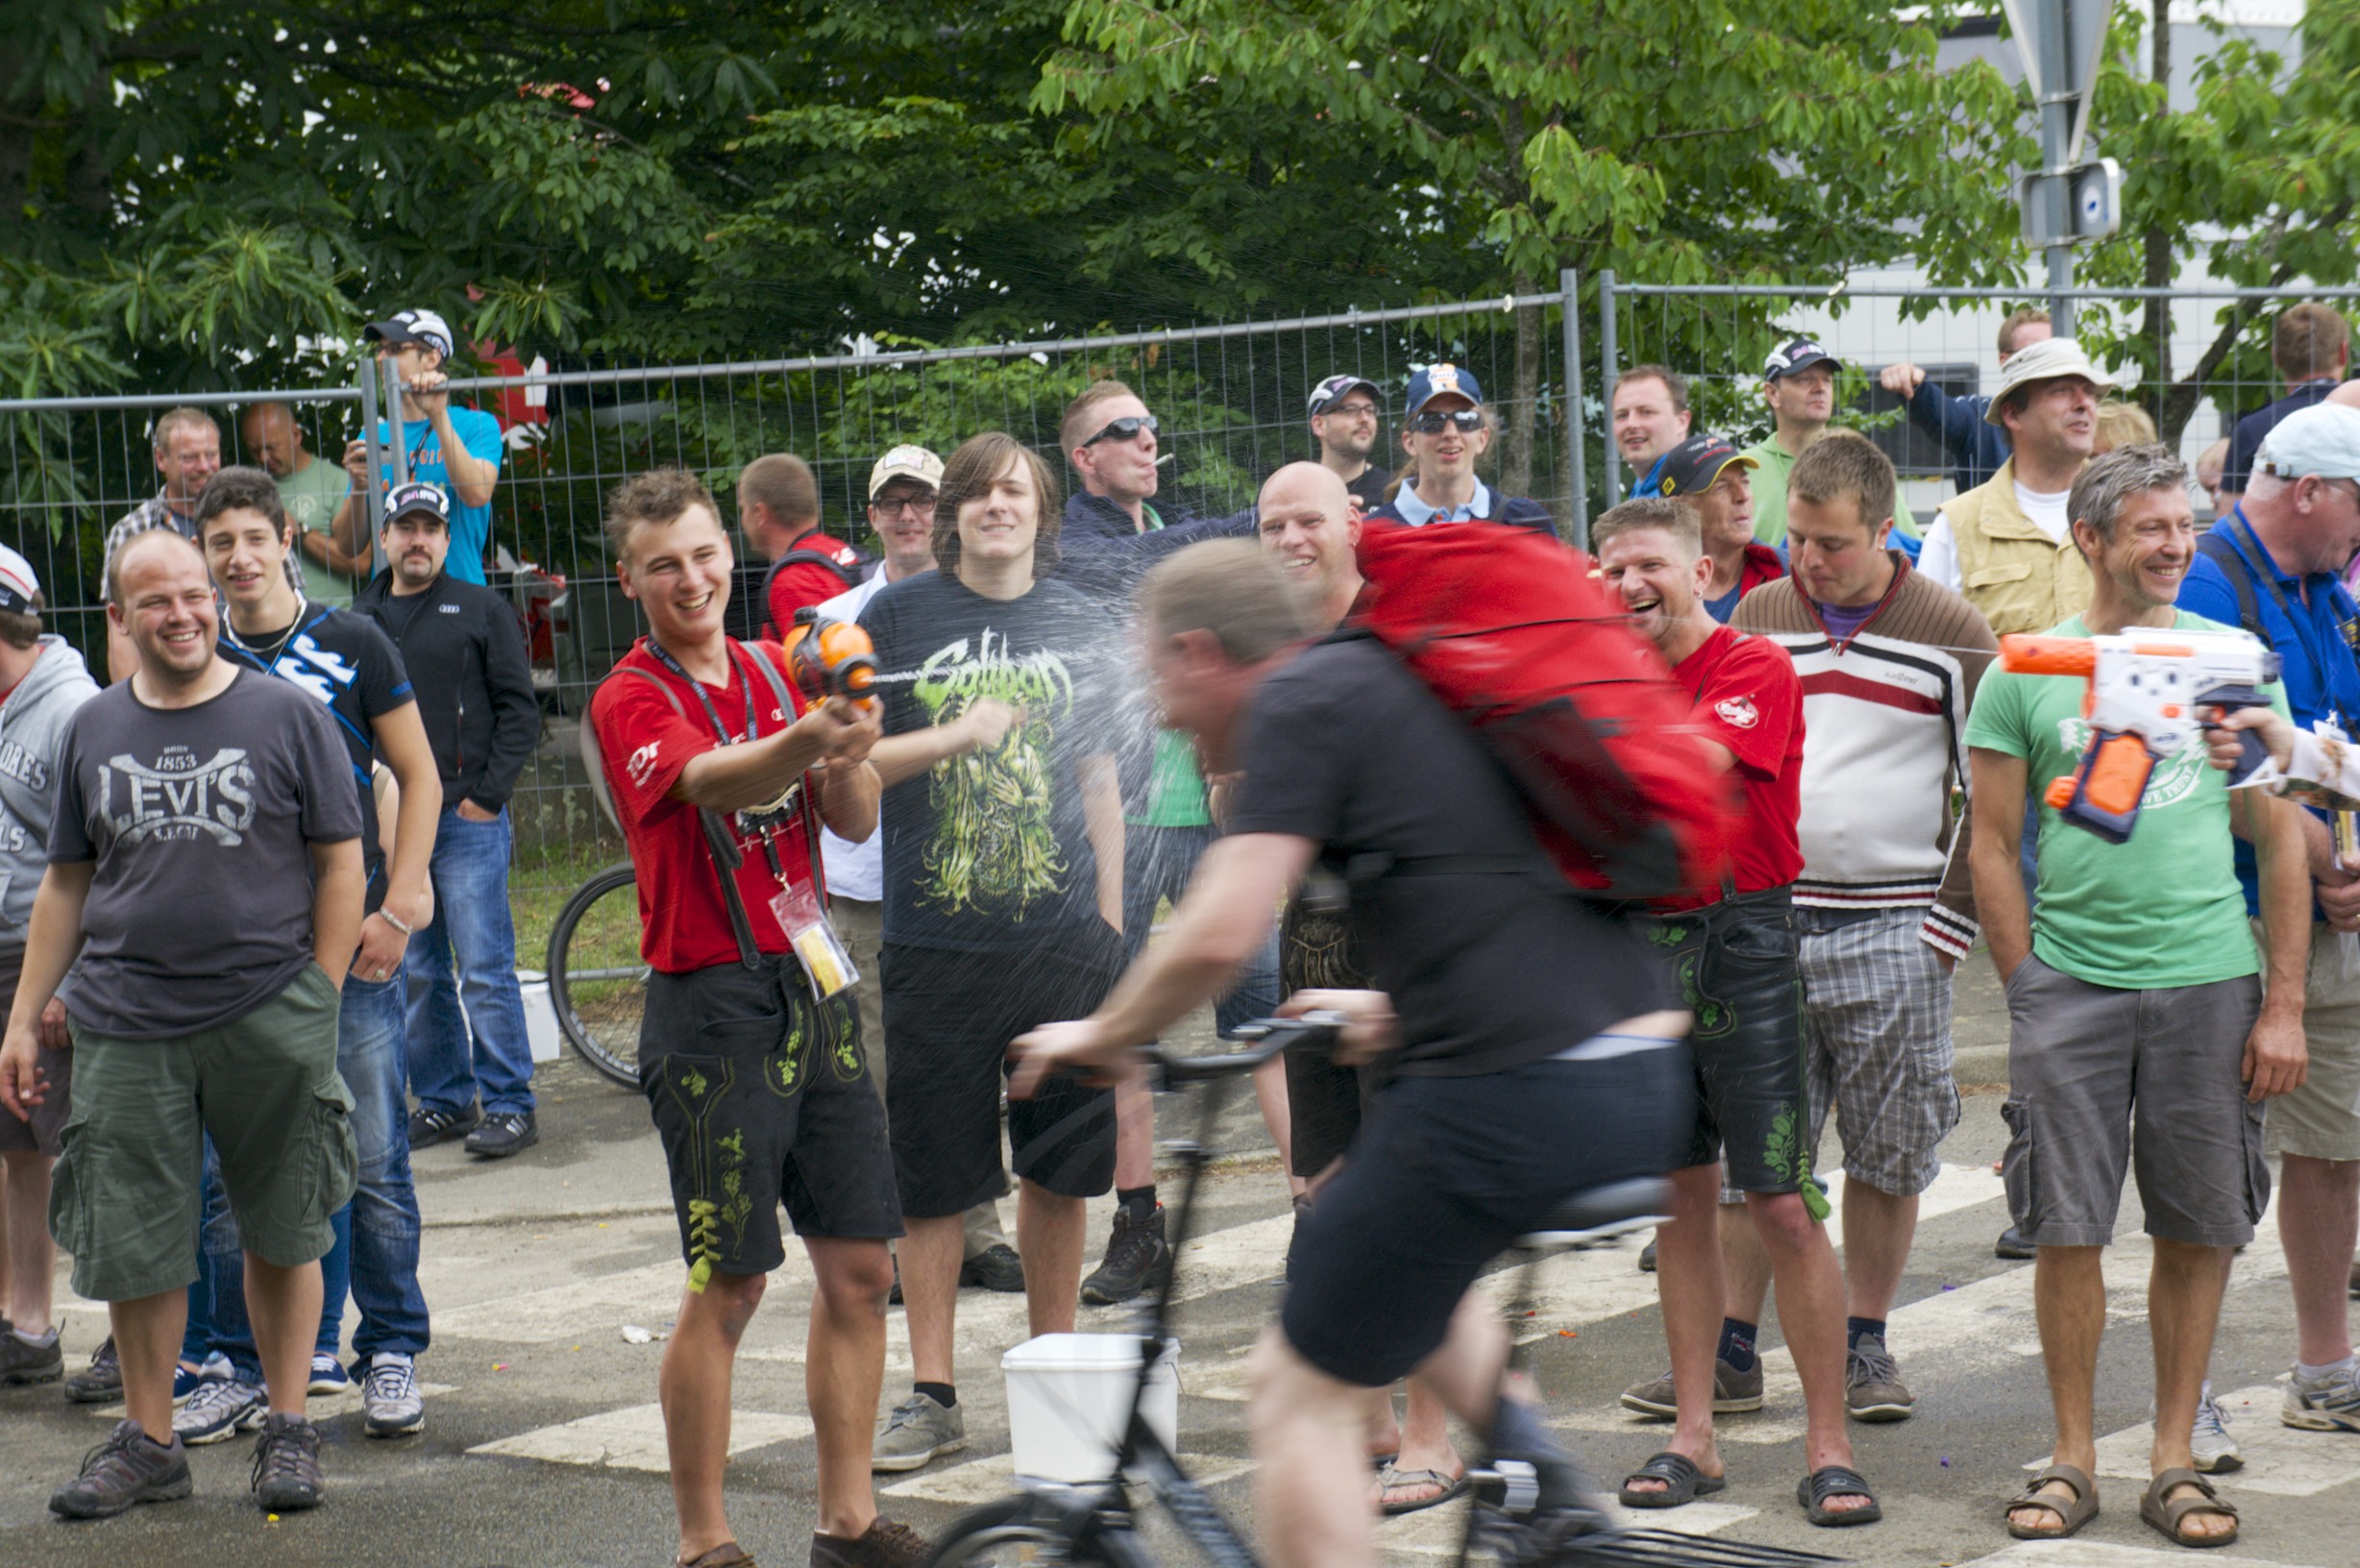
DO use the vuvuzela to annoy the over-zealous Germans who are pouring water in to the cars of innocent passers-by.
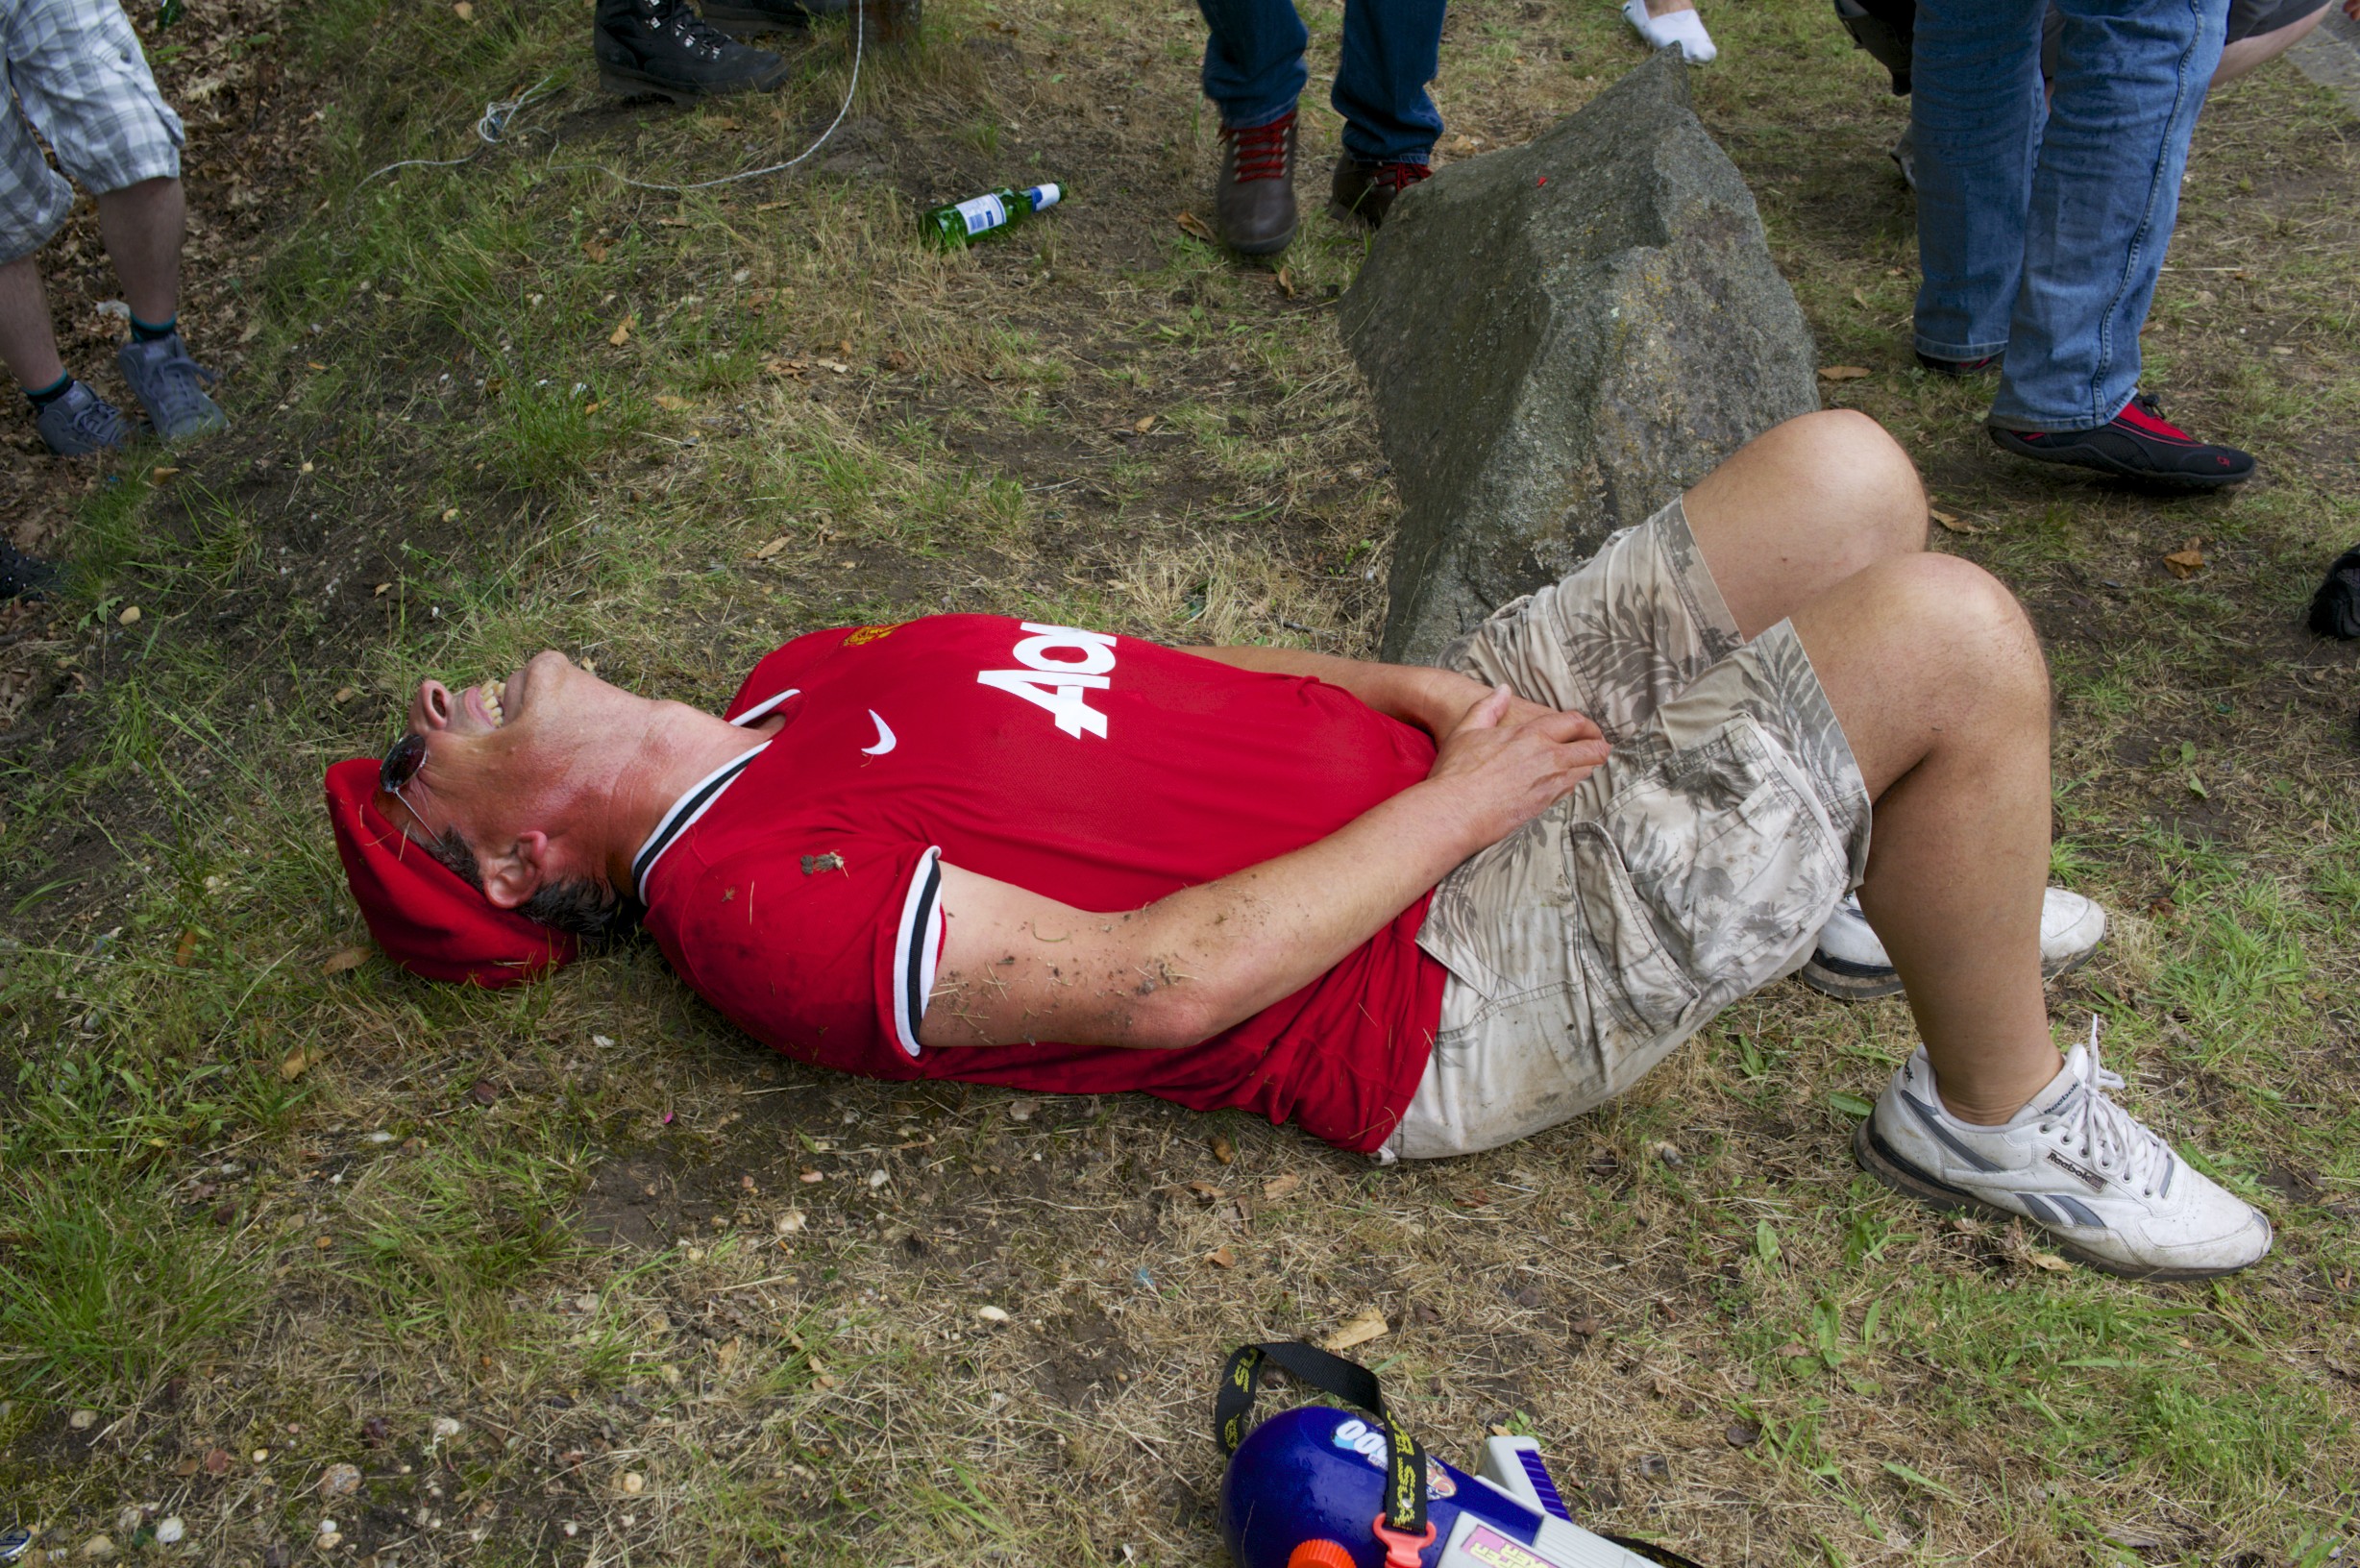
DON’T annoy the Germans when they have possession of a very powerful water bomb catapult!!! Unless you want to have a little lie down like this chap.
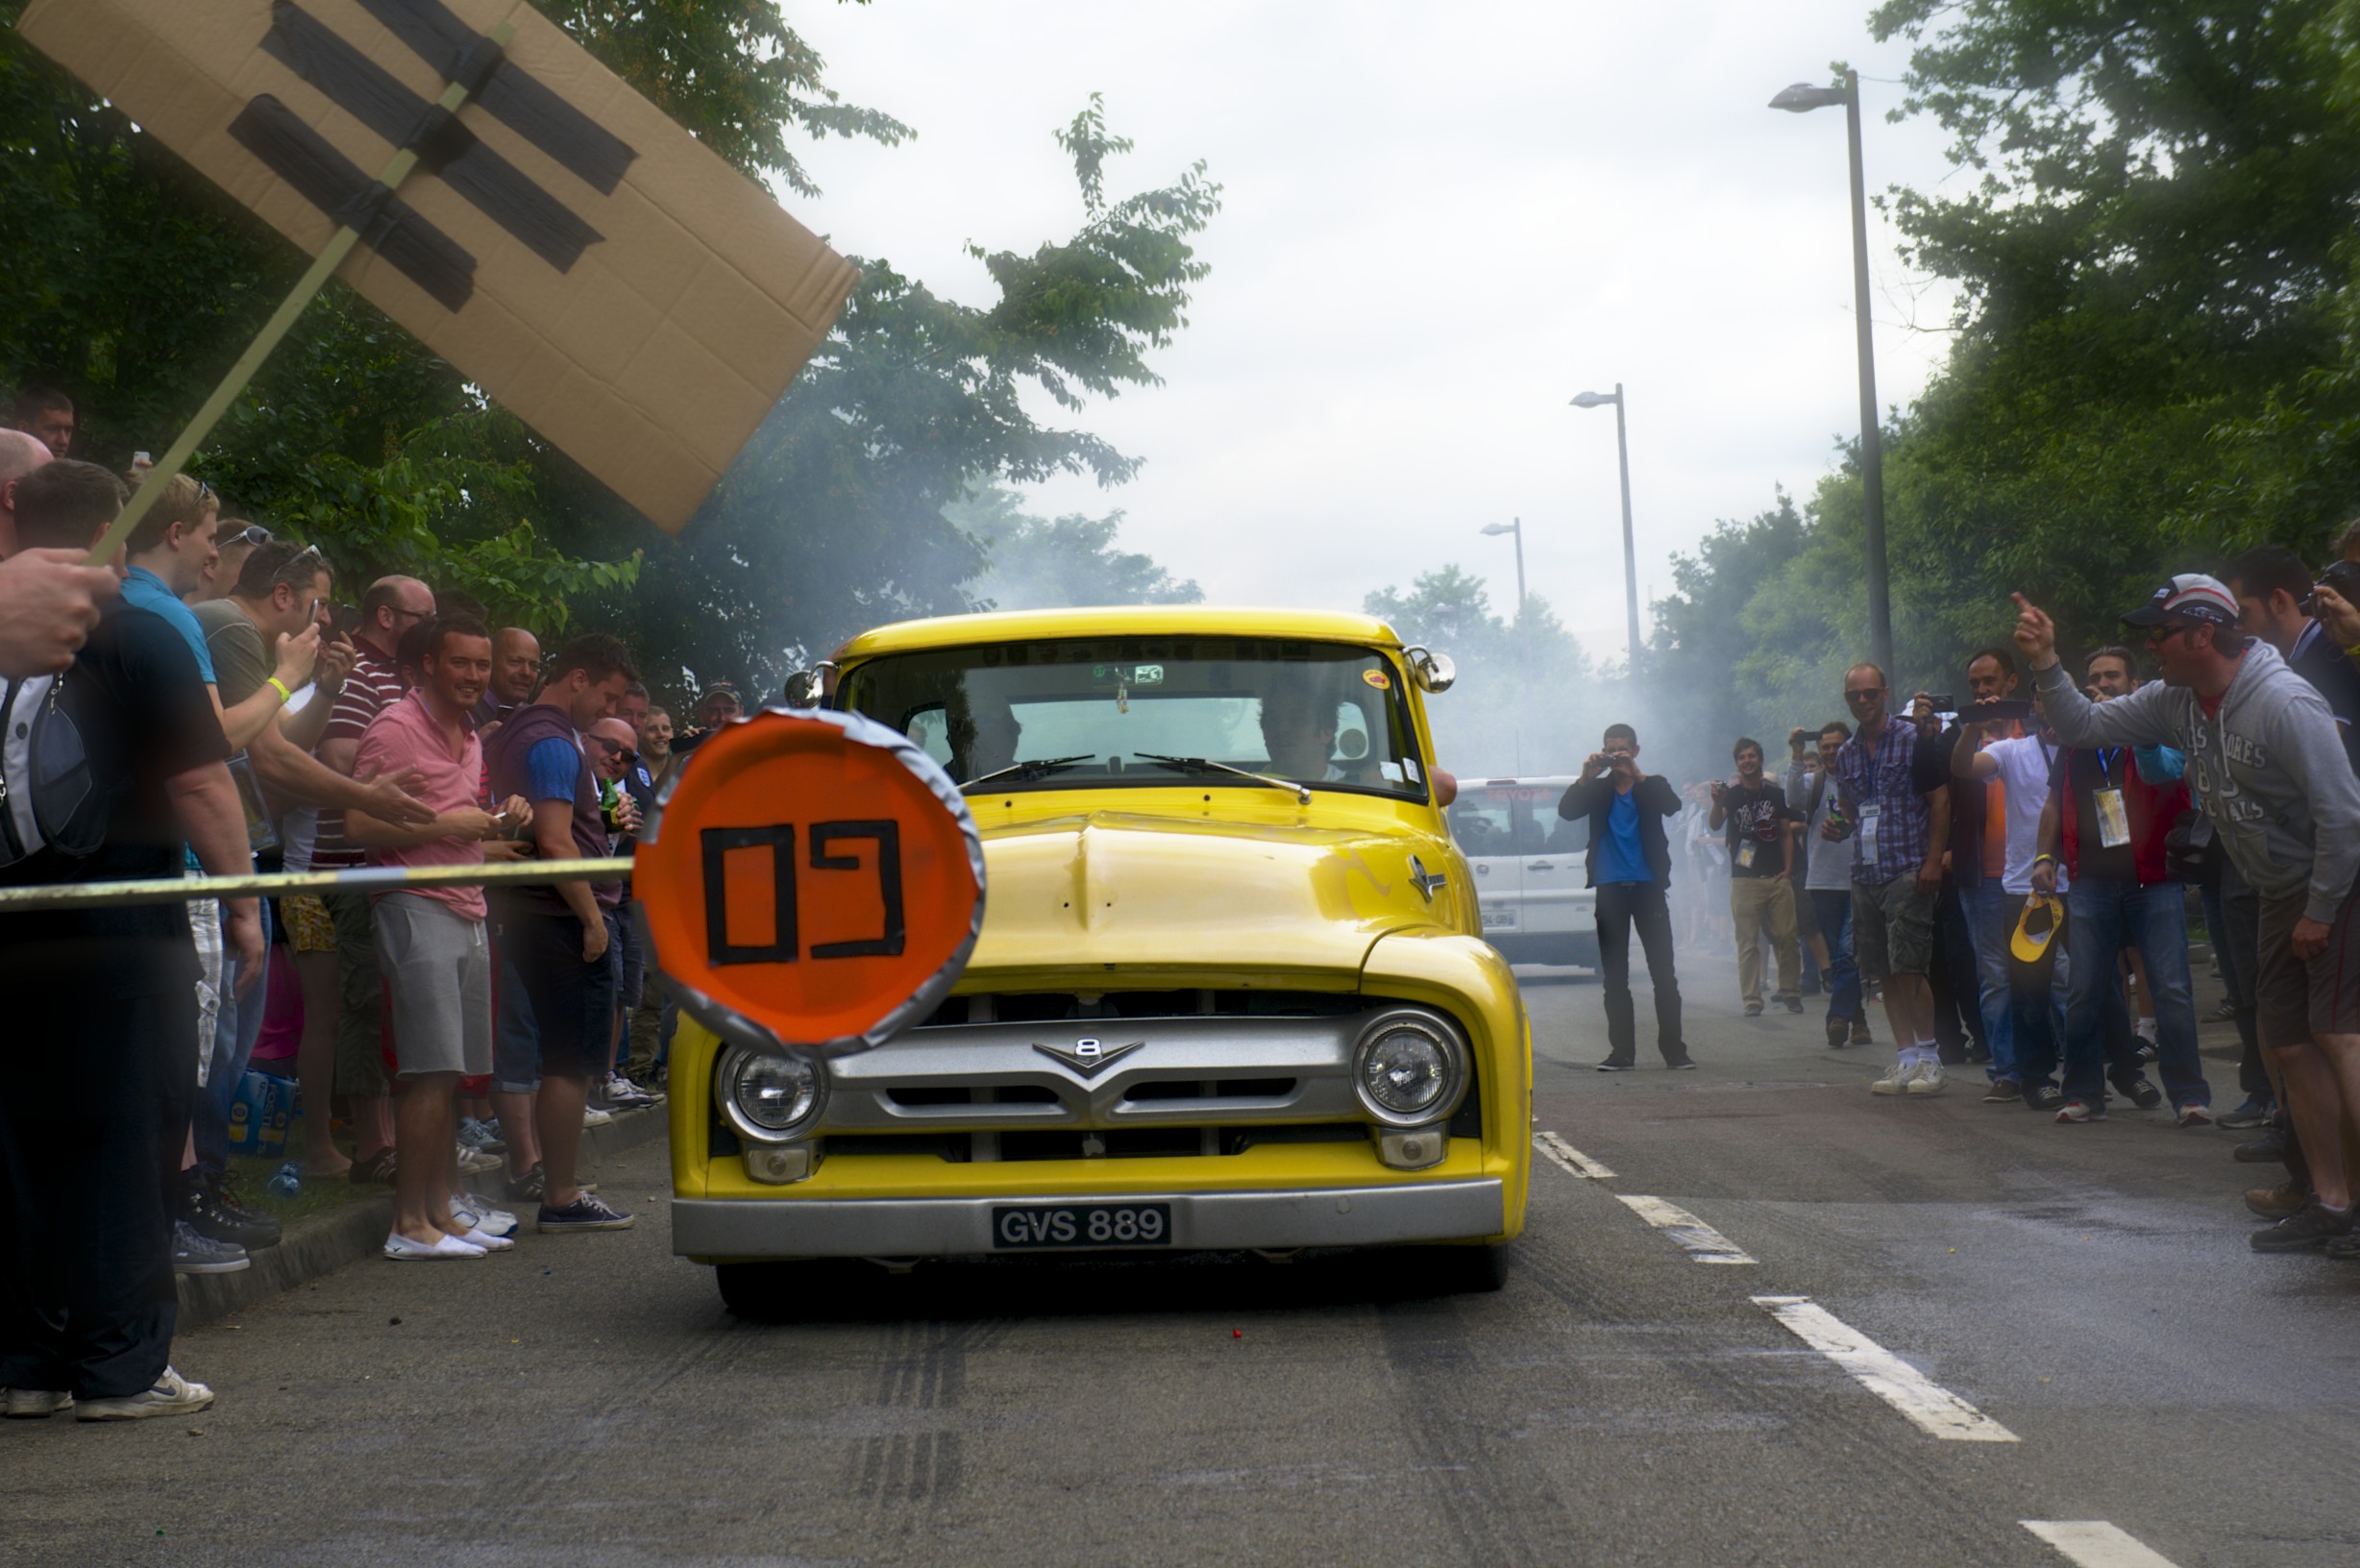
DO make a Formula One-style STOP/GO sign, to encourage burn outs. Gaffer tape is useful for this as well.
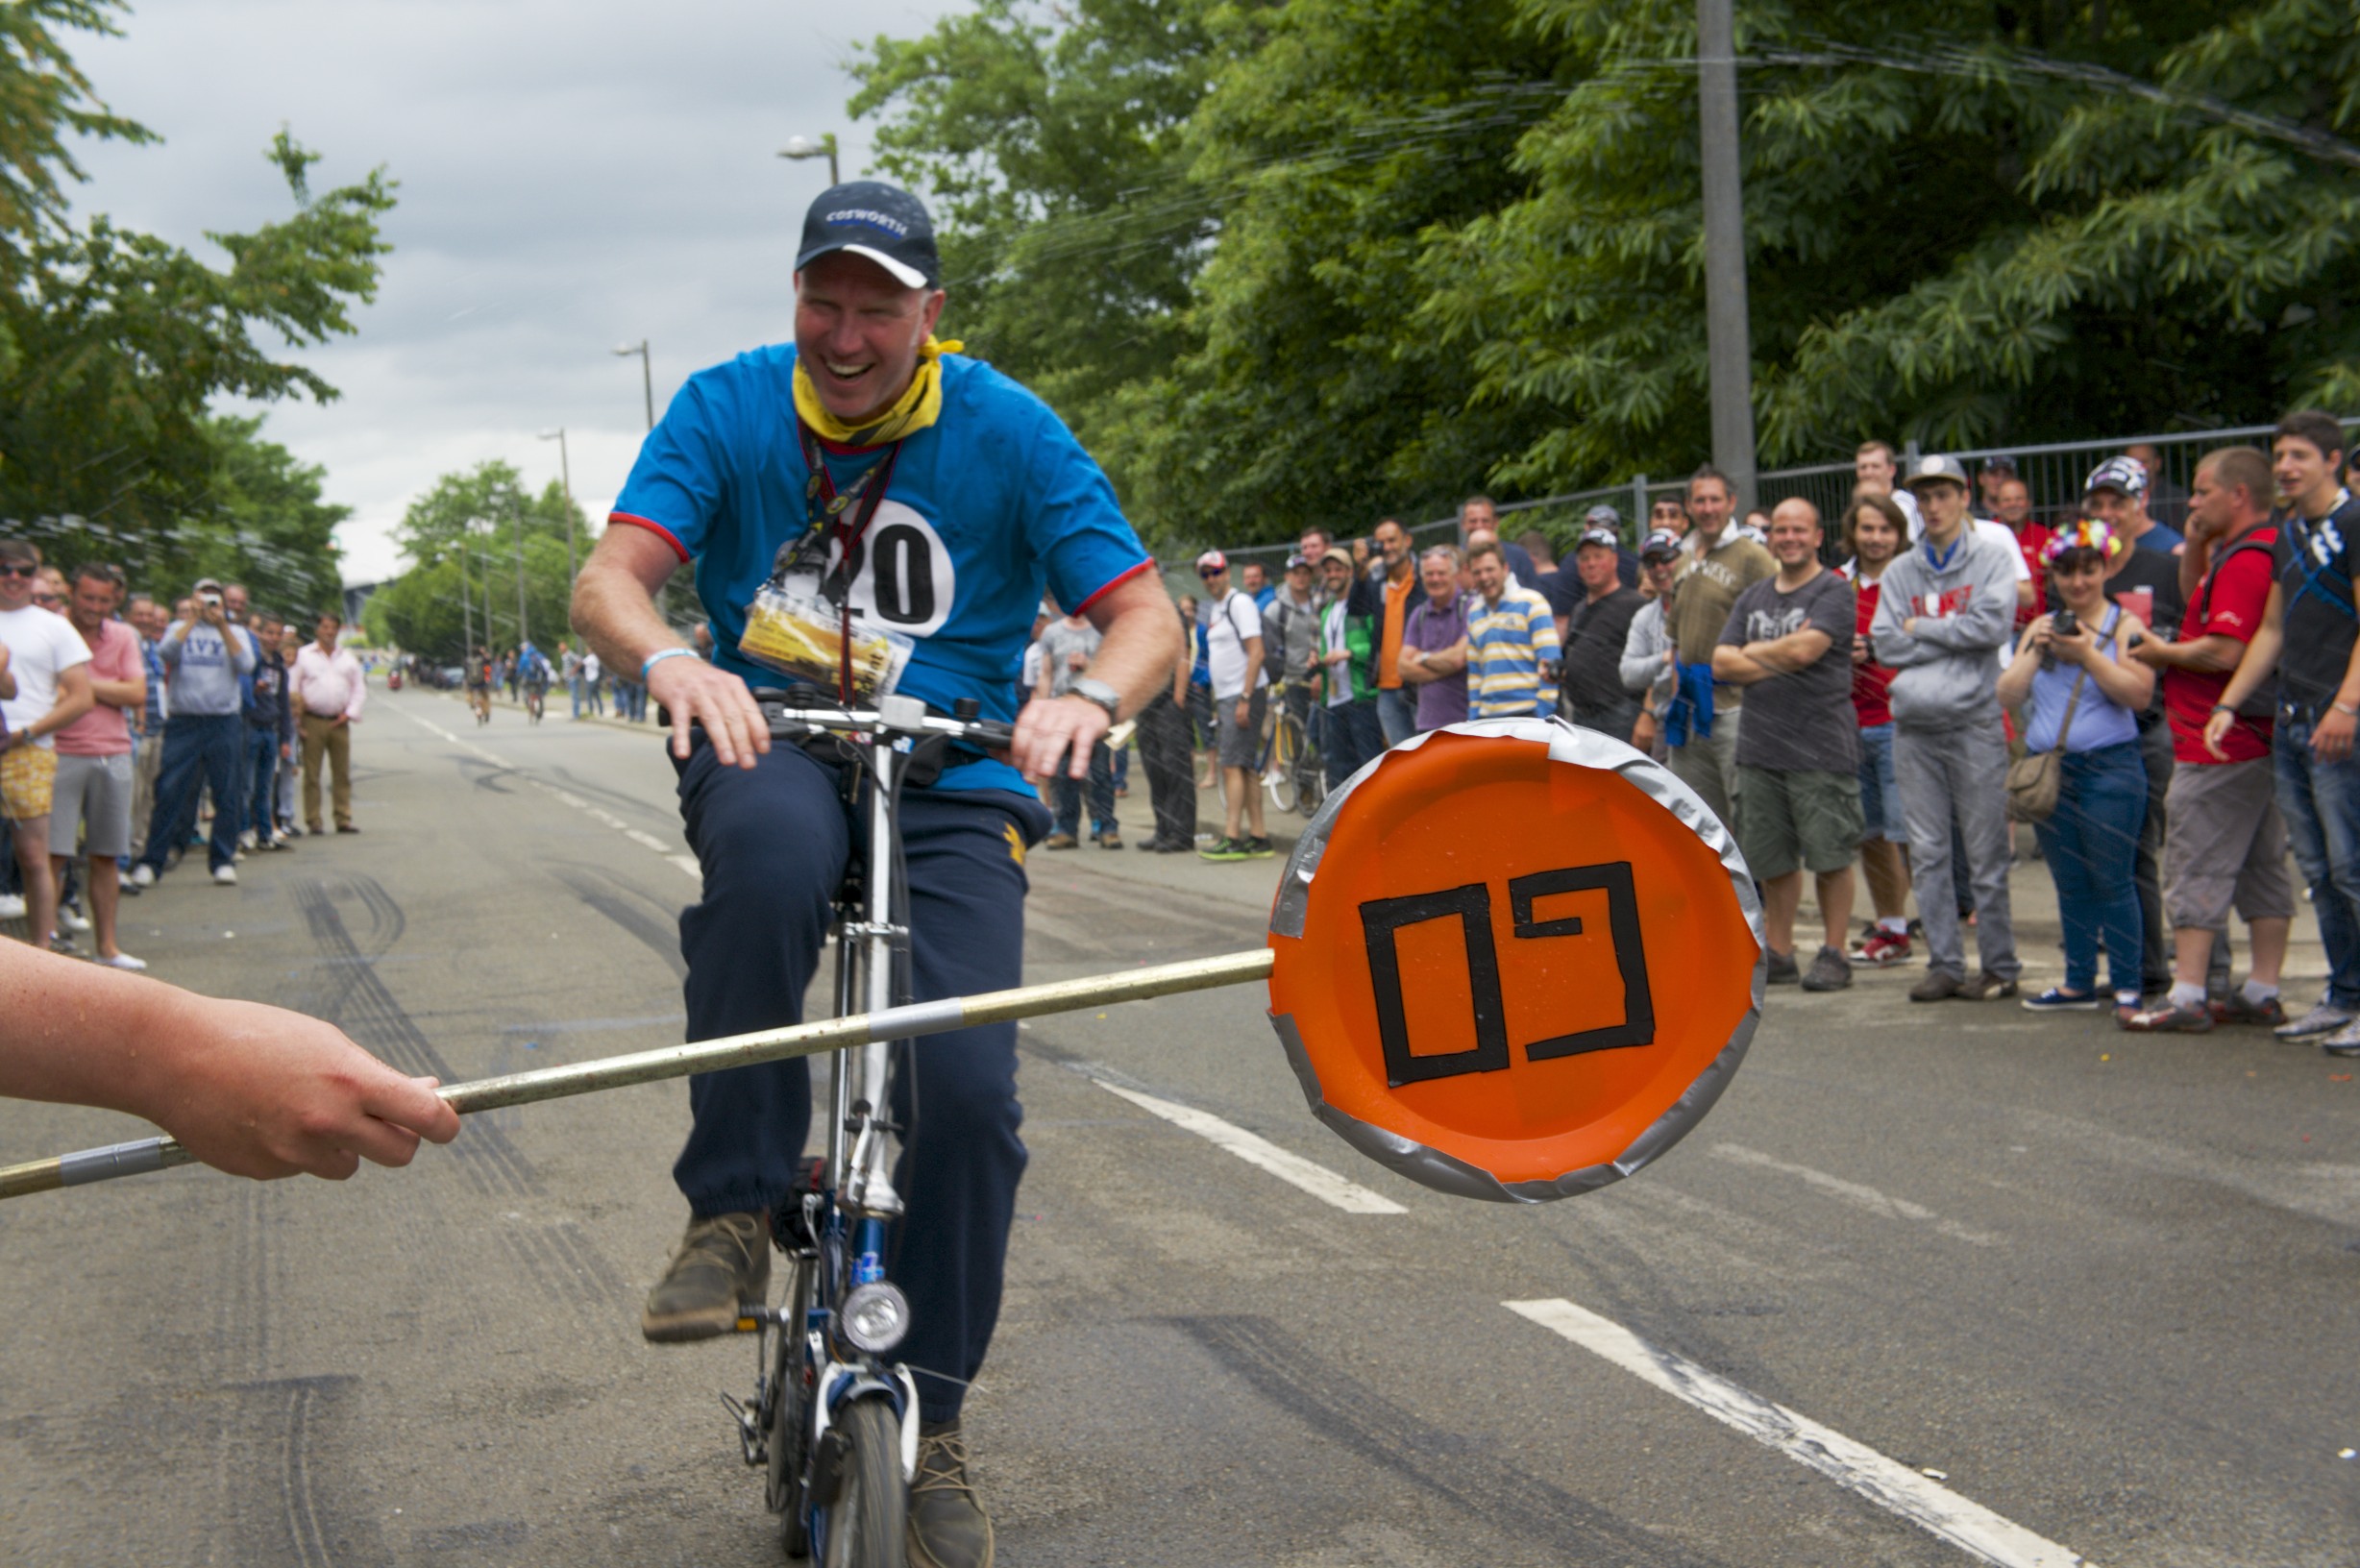
DO use said sign for any passing vehicle, even when it may not at first seem appropriate.

DO perform burn outs for the crowd! It causes cheers and makes everybody drink more.

DO get as close to the action as possible. BUT be aware that the cars don’t always go in a straight line.
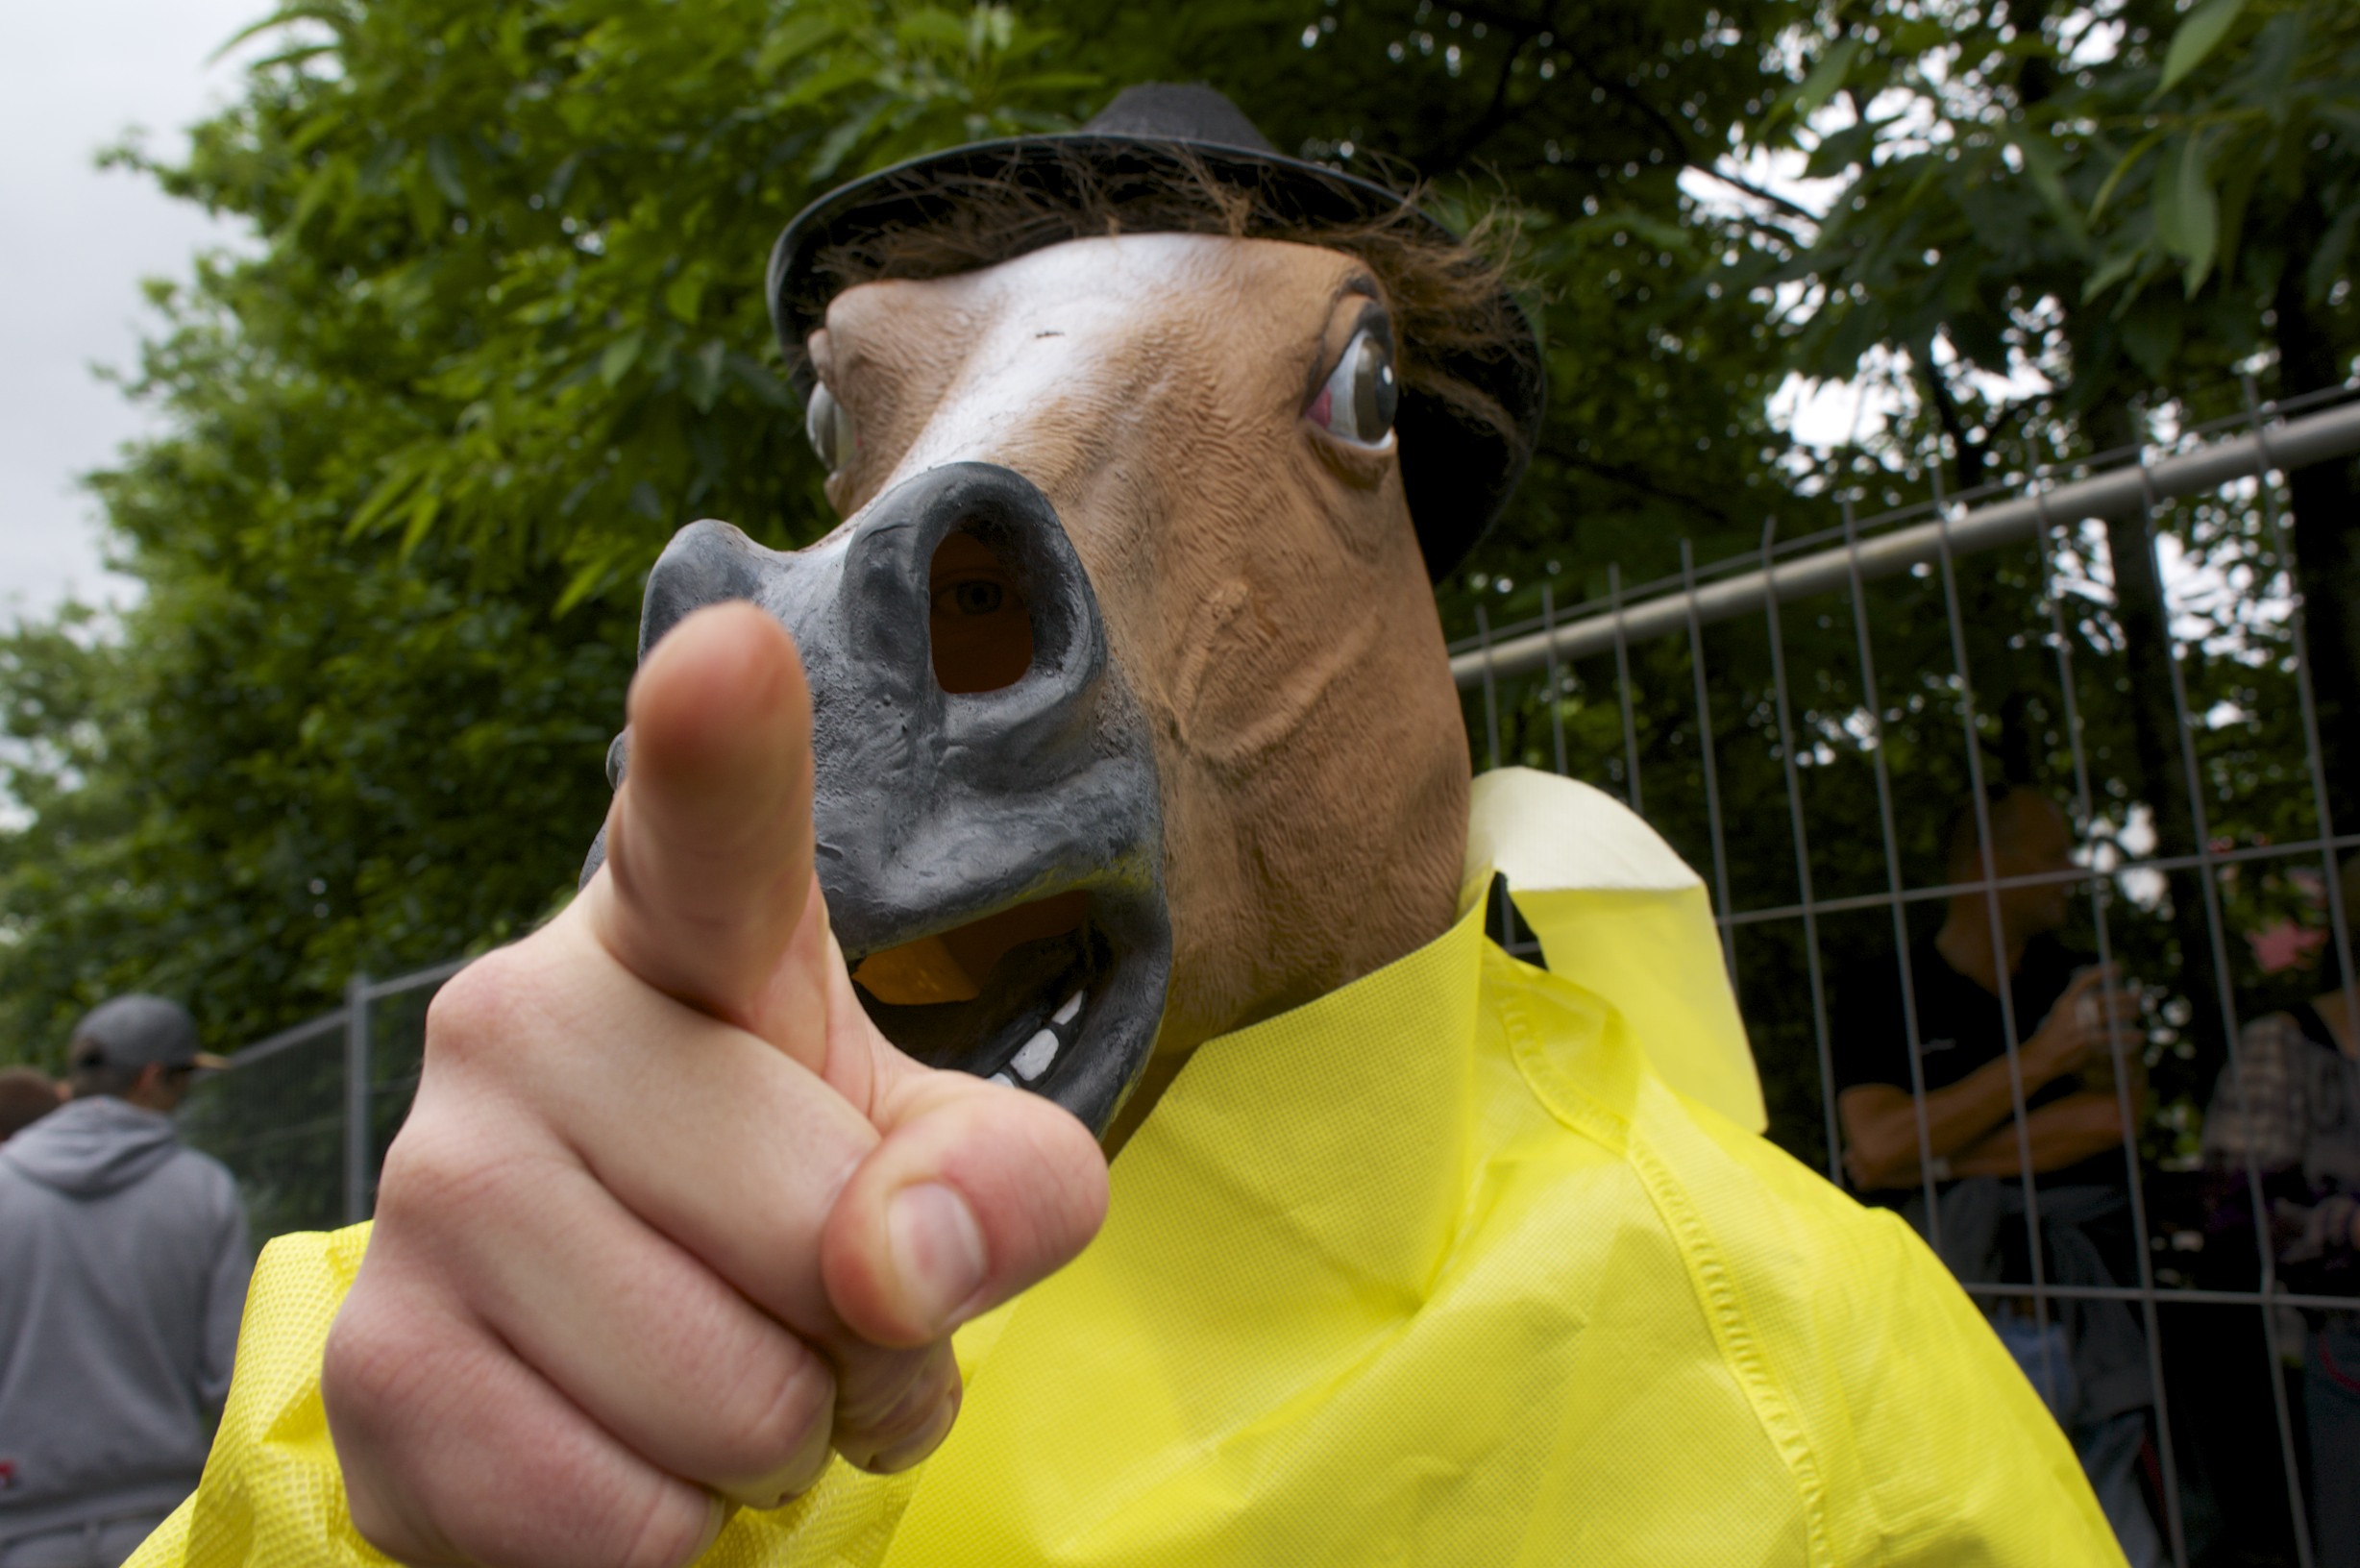
DO take a horse head.
DO make friends with a girl who has come in her Aston Martin.

DO take a photo of her driving round the track in the Aston Martin.

DON’T forget that it is no longer the 90’s!

DON’T forget to watch at least some of the racing! Although you will hear it constantly for the 24 hour duration, this is easily done because of all of the other entertainment (beer and merlot).

DO keep your camera ready along the drive to Le Mans, as you never know when a brand new F-Type is going to fly past.
So, that is my main Do’s and Don’ts list finished, and if you stick to it you should come home alive and without too many injuries (Colin would also not recommend borrowing a bicycle when drunk, but I don’t have a photo of that to share, unfortunately!). Despite all of the fun to be had on the campsite and around the track, we did manage to see a good few hours of racing at the start and finish of the race. Which gave me a chance to take some shots of moving cars – something that I hadn’t really attempted before. I have read a number of tips in the past on how to go about it though, but as with most other aspects of photography, practice makes perfect.

This was one of the Audi entrants (sadly I missed a photo of the winning car – but it looks exactly the same really). These diesel-powered beasts went by with a strange whooshing noise, more akin to a jet engine, whilst the other petrol-powered cars roared and crackled.
The main points to consider really are that you probably want to have a forgiving depth of field f/ stop, unless you really know what you’re doing, and a shutter speed fast enough to freeze the car but allow the background to blur. When shooting from the side, as in these shots, you will also need to track the car and keep your camera moving with it whilst you press the shutter release, and until the shutter has closed again. In practice, this means that it is best to keep the camera moving for a short time after you think it has finished exposing the shot. Le Mans cars move extremely quickly side to side, from 50 metres away, so this will require a little getting used to. If you are in a position to shoot head on to a car, then the focusing with be slightly easier to perform, or you can even pre-set your focus and wait for a car to pass through the correct spot.
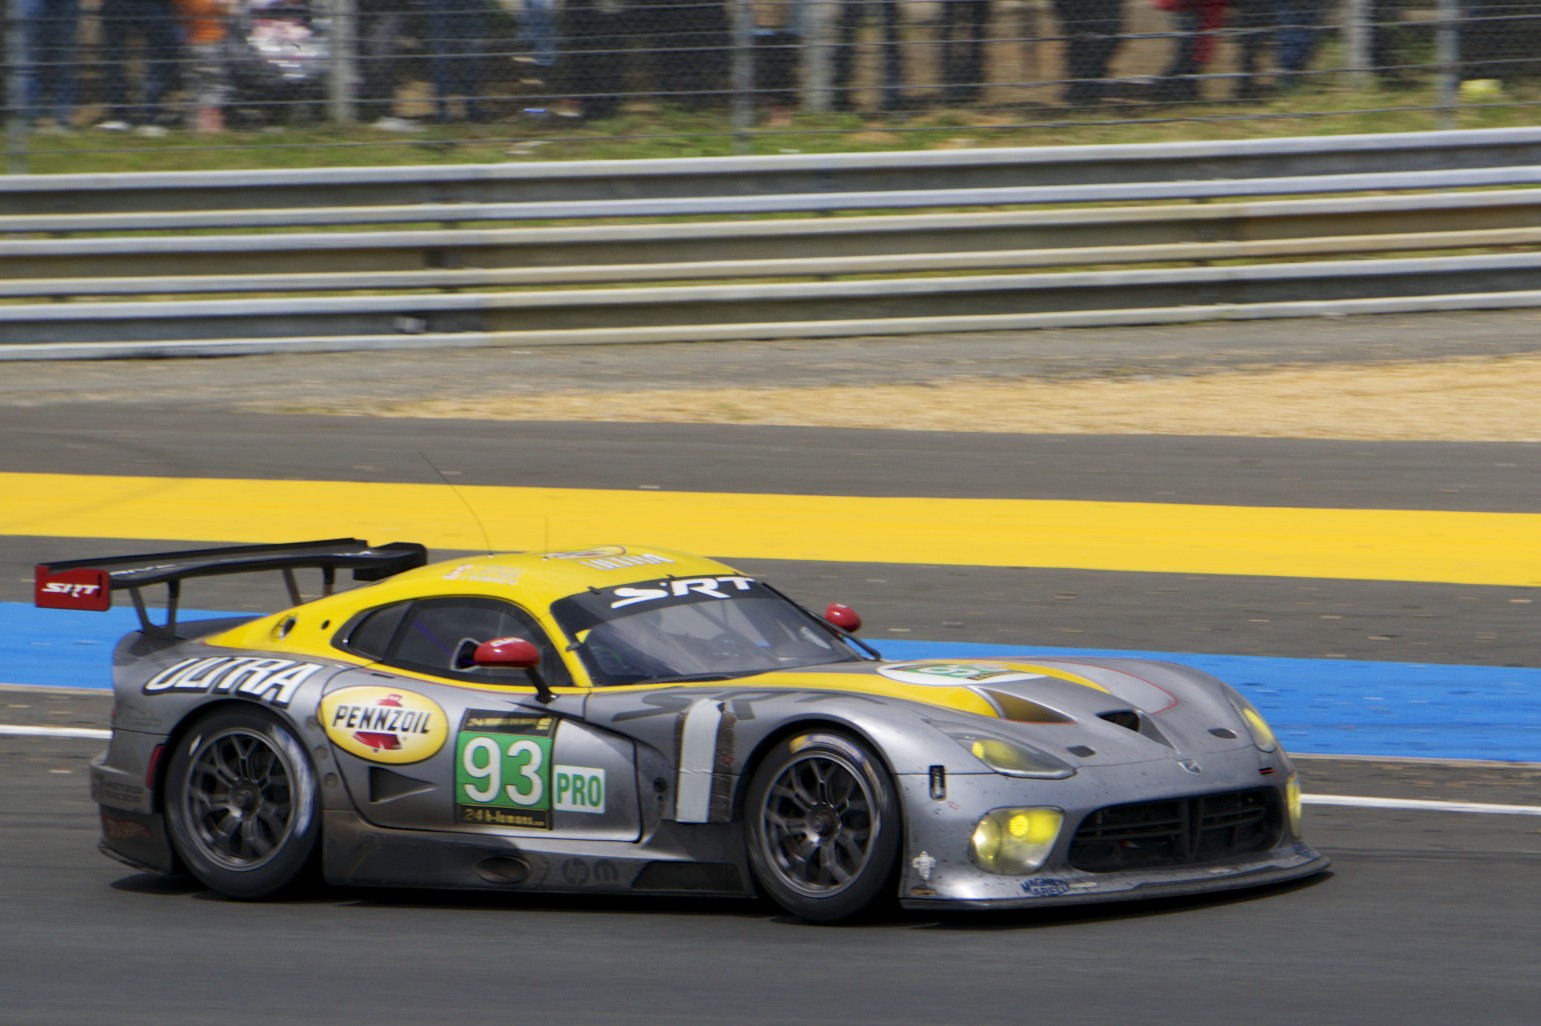
After a few attempts and more careful shot composition, this was probably the best image of the cars that I captured.
I chose to use this for the featured image because I had aimed more carefully to avoid getting the track’s fencing in the shot. I know that the final image does look a little cheap with the zoom blur effect, but the point of this blog is for me to try out different photographic techniques, and this means that post-processing is something that I want to try out as well. I actually followed a tutorial from Digital Photo magazine, which was quick and easy to do. Well that’s all for this post, with more photos than writing for once! Just one last thing to say though…
Sadly, one of the driver’s (Allan Simonsen) crashed after 10 minutes of the race starting, resulting in fatal injuries, but the race continued in his honour. It wasn’t announced for a few hours after the crash, and it was definitely a sobering moment when the news did come in over the radio. I’m sure that everyone around the track and campsites took a moment to reflect on the tragedy, remember the dangers that do still exist in motor sport, and think of the brave people that do risk their lives to entertain us and themselves.
